Saving your team colors on Gipper helps you save time and easily input your school’s colors anytime you’re creating a graphic. This feature allows you to keep your branding consistent across all designs, helping your feed look more professional. It’s also super helpful when creating graphics on your mobile device, making the design process seamless!
Step 1: Saving Your Colors
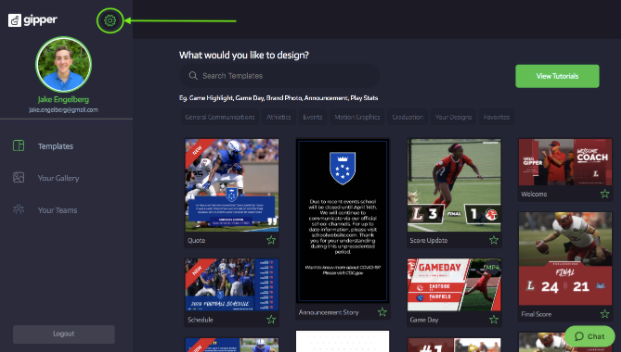
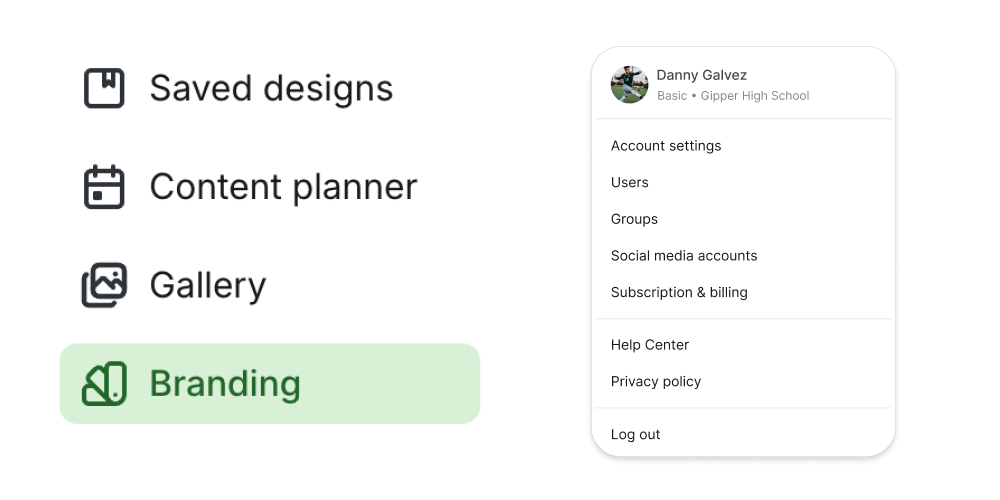
On the Gipper platform, you can save your team’s colors in the settings menu. To access settings, just simply click the gear button in the top left corner of the platform as shown below.
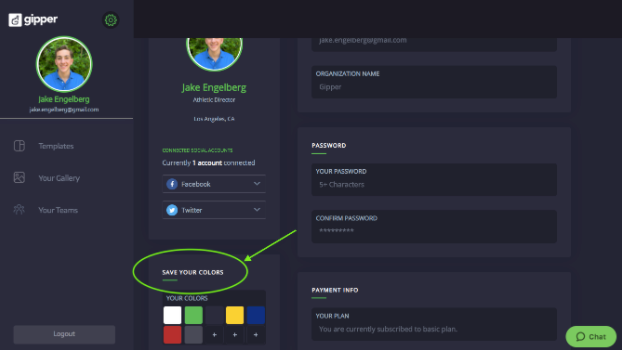
Once you are in the settings menu, scroll down to the section labeled “Save Your Colors,” as shown in the image below:
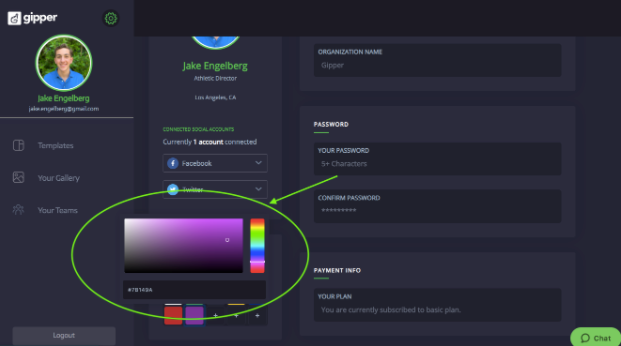
You can either add your team colors from the color pallet or by inputting the RGB hex code which is circled below. Gipper users can save up to 10 specific colors. Saving your colors can be super valuable, helping you stay consistent and use the same brand colors each time!
Step 2: Editing a Design
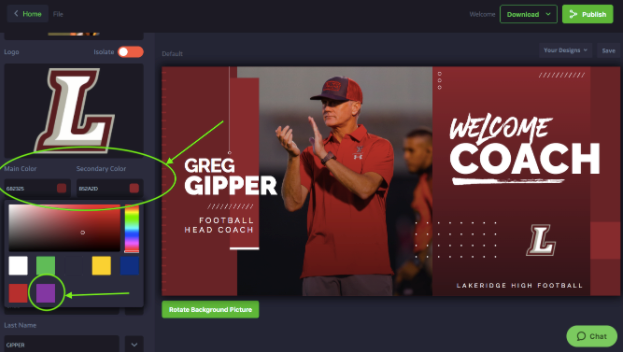
Now that your colors are saved, all you have to do is open a graphic you want to edit, scroll down to the color bar, and your saved colors will appear just below the palette! Shown in the image below:
Wrap Up
Saving colors is a huge time-saver and can help keep your school’s brand super consistent on social media, which is attractive for followers! As mentioned above, this is especially helpful when using Gipper on mobile because instead of having to design a graphic on the go and re-choose your team colors every time, your colors will be at your disposal with the click of a button!
I hope this was helpful and thanks for reading :)
- Jake
Jake Engelberg is a blog writer at Gipper. Gipper is a platform that helps high school athletic departments create professional sports graphics for social media - in seconds, on any device, and without needing any design experience.
Learn more @ gogipper.com/athletics
OTHER RESOURCES YOU MIGHT LIKE







.png)